The data collection process for your CMA is now complete. Click BACK to collect more listing data or refine the data you have already collected.
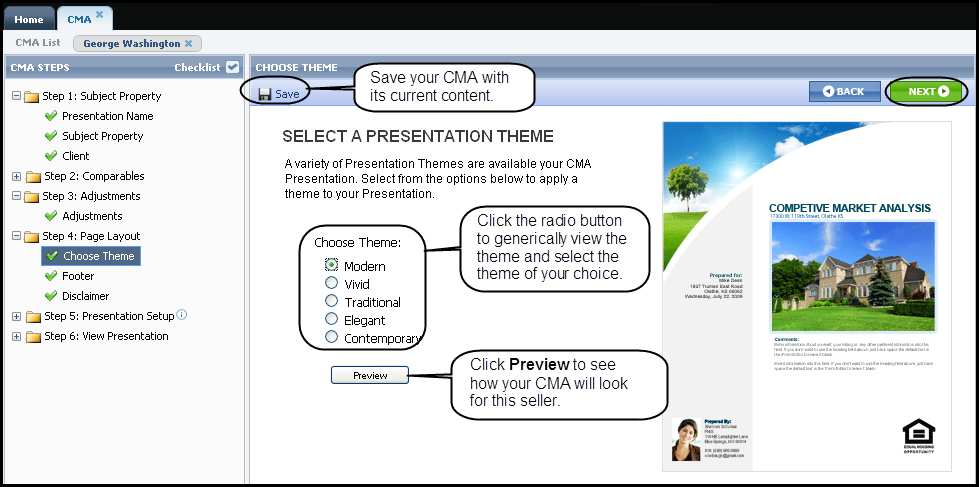
The fourth step in the CMA process is page layout to setup the “look and feel” of your CMA in three sub-steps.
A. Choose Theme – click the button to preview each of the available themes. Select the desired theme and click SAVE.
Click NEXT to move on to the next sub-step, Footer.
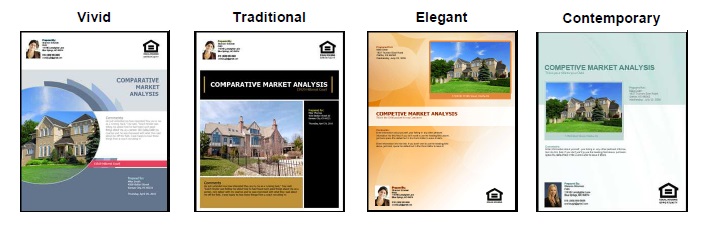
The looks of the other themes are:
B. Footer – By default, the footer is disabled. To enable the footer and display the other options, click the “Would you like to use footer?” checkbox. Footer options are displayed. Inside the footer are four (4) options.
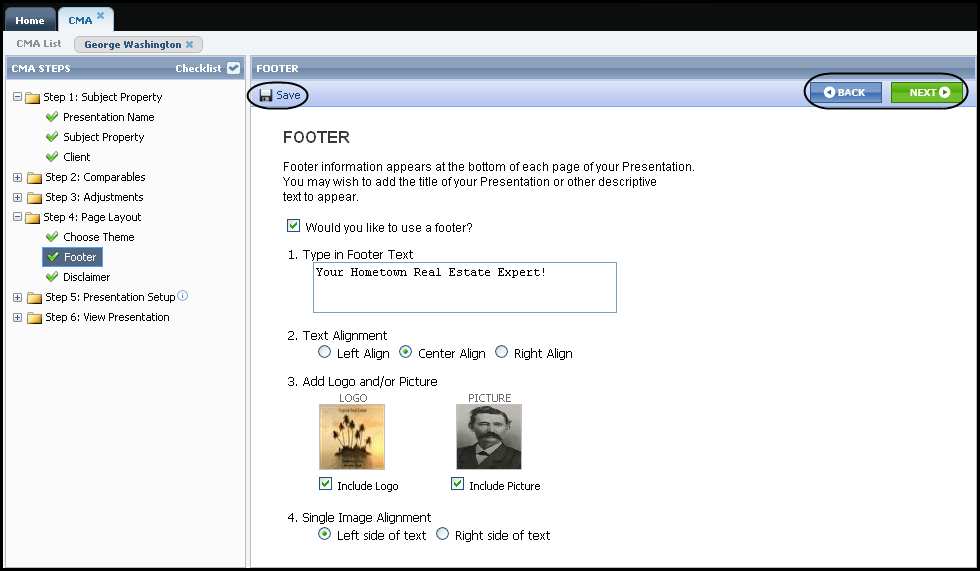
- 1. Type in Footer Text – Enter the text for the footer. The footer displays no more than 85 total characters, even though you can type into the field more than 85.
- 2. Text Alignment – Do you want the footer text to be left, center or right aligned? Select the alignment by clicking the appropriate radio button.
- 3. Add Logo and/or Picture – Paragon will display the office logo and/or agent image you uploaded in Preferences. To use the displayed images in your CMA, click the checkbox for each image.
Note: You can change the image used in your CMA by clicking on that image and browsing to find the alternate image you wish to use. These images can be different from images you use in other Paragon modules.
For detailed information about uploading images into Paragon, see the Quick Start Guides on this topic by clicking Help in the top right corner of the Paragon window.
- 4. Single Image Alignment – In the event you chose to use only one (1) image in your CMA, you can choose the location of the image relative to the text entered above. Options are: left side of text or on the right side of the text.
When you have completed this Footer sub-step, click SAVE to retain this setting.
Then click NEXT to move on to the next sub-step, Disclaimer.
C. Disclaimer – The number of disclaimers available to choose from is determined by your MLS, board or association. Select the disclaimer you want to use.
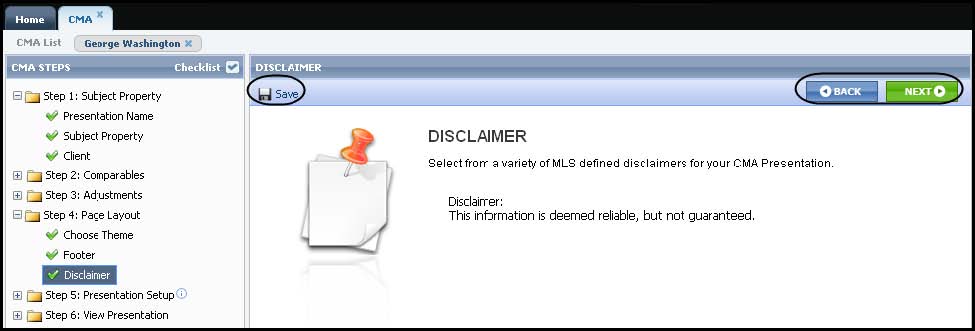
When you have completed the Disclaimer sub-step, click SAVE to retain this setting.
Click NEXT to move to the next step, Step 5 - The Presentation Setup.

Comments