Steps
- In the header bar, click CMA.
The CMA Reports page opens.
- Click Create CMA Report.
The Criteria page opens.
-
Fill out the Criteria page.
Click for detailed steps
- In the Name the Report section, enter the title of your report and any private notes you have.
Optional: Associate a Foundation contact with your CMA report.
- To associate an existing contact, start entering their name in the Associated Contact field and select them when they appear in the dropdown.
- To associate a new contact, do the following:
- Click Create New.
The New Contact popup opens.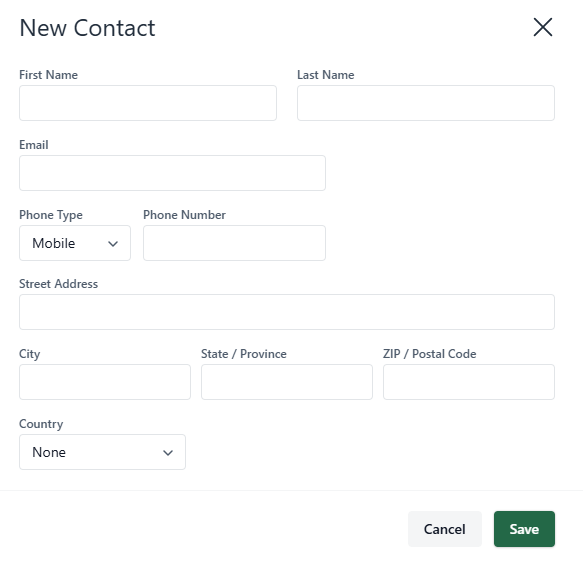
- Enter the contact's information.
- Click Save.
The new contact is created in Foundation, and associated with your CMA report.
- Click Create New.
- In the Subject Property section, enter your client's address.
If tax data is available for the property, some of the fields may autofill. - Optional: Enter or select any additional property information you need to include.
Optional: Add a cover photo.
By default, your CMA report title page displays a satellite image of the subject property.- In the Subject Property section, click Add cover photo.
- Select the photo you need to add.
The Adjust Your Photo popup opens.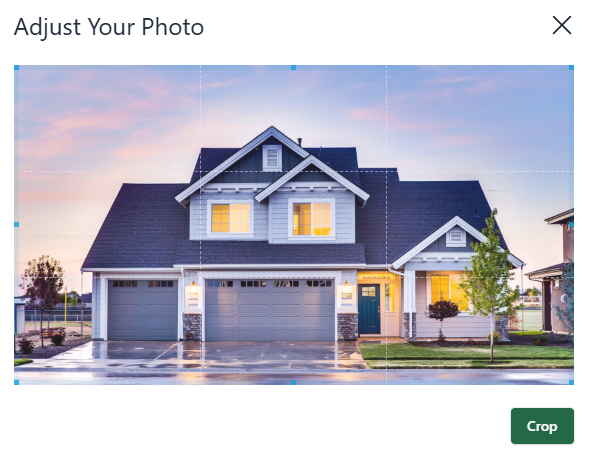
- Adjust your photo and click Crop.
Your property photo is added as a cover photo.
- Do one of the following:
- If you know what listings you need to compare, in the Exact Listings section, enter the listings' MLS numbers, separated by commas, spaces, or new lines.
- If you do not know what listings you need to compare, in the Quick and Dirty section, check Automatically find listings near the Subject Property, and select your criteria.
- Click Fetch Listings.
The Listings page opens.
- Optional: Do any of the following:
Add a suggested listing price
Do one of the following:
- If you know what price to suggest, manually enter it in the Set price field.
- If you do not know what price to suggest, do the following:
- Click Net Sheet & Notes.
The toggle opens.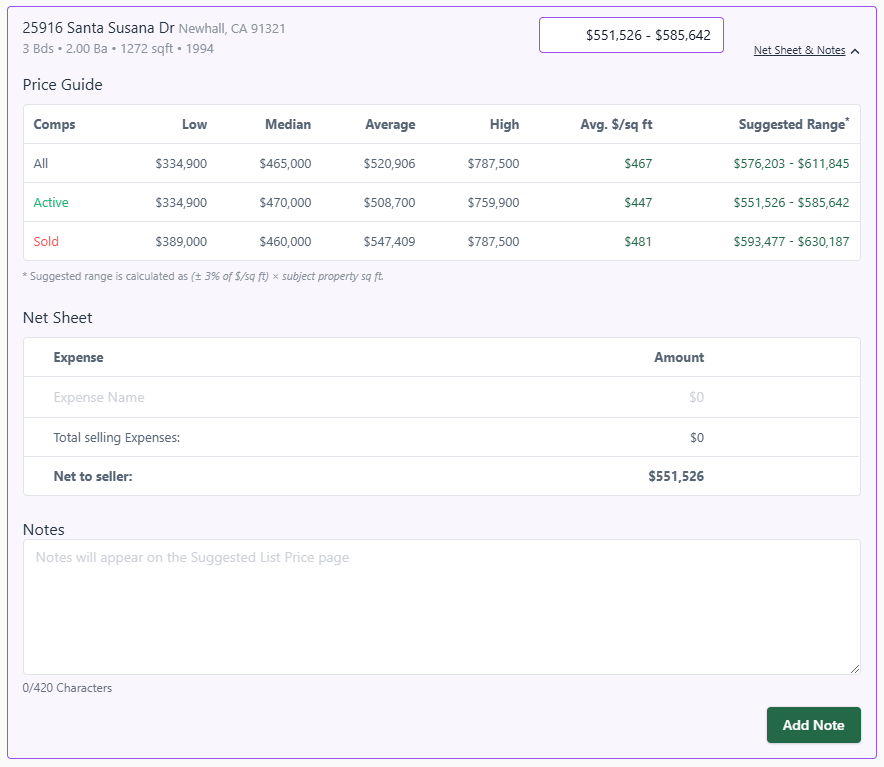
- In the Price Guide section, click one of the amounts or ranges.
The Set price field is updated.
- Click Net Sheet & Notes.
Add your seller's net sheet
- Click Net Sheet & Notes.
The toggle opens.
- In the Net Sheet section, enter the expense information and amount.
- Click Save.
The net sheet is updated. - Continue entering line items until all expenses are included.
- Click Net Sheet & Notes.
Add a note to your subject property
- Click Net Sheet & Notes.
The toggle opens.
- Enter the note in the Notes field.
- Click Add Note.
Your note is added.
- Click Net Sheet & Notes.
Add a listing to your comparables
- Click Add a Listing near the bottom of the page.
The Add a listing section opens.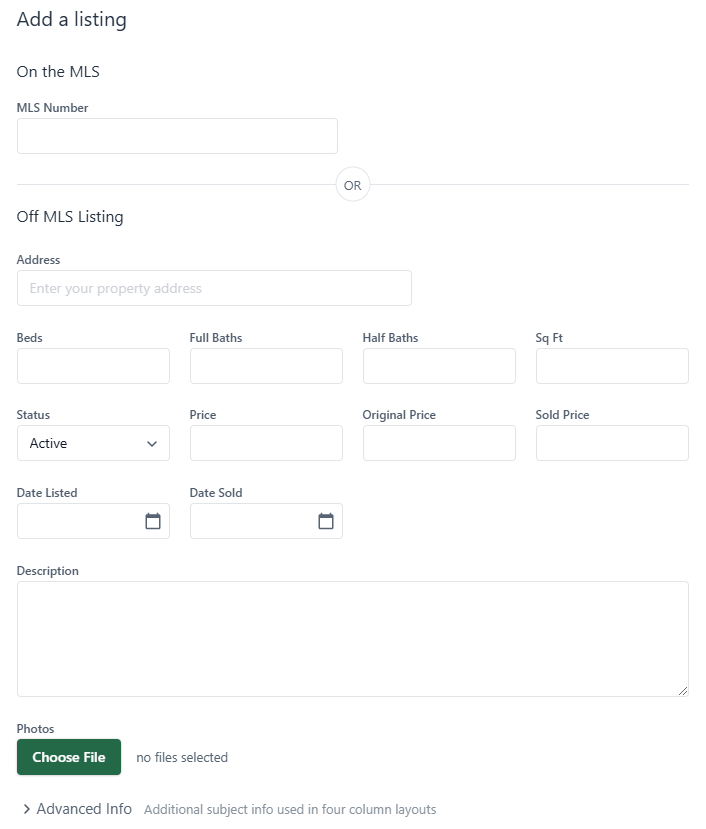
- Enter the listing MLS number or manually enter the listing details.
- Click Add Listing.
The listing is added to your comparables.
- Click Add a Listing near the bottom of the page.
Make a price adjustment
- Locate the listing you need to adjust, and click Notes & Adjustments.
The toggle opens.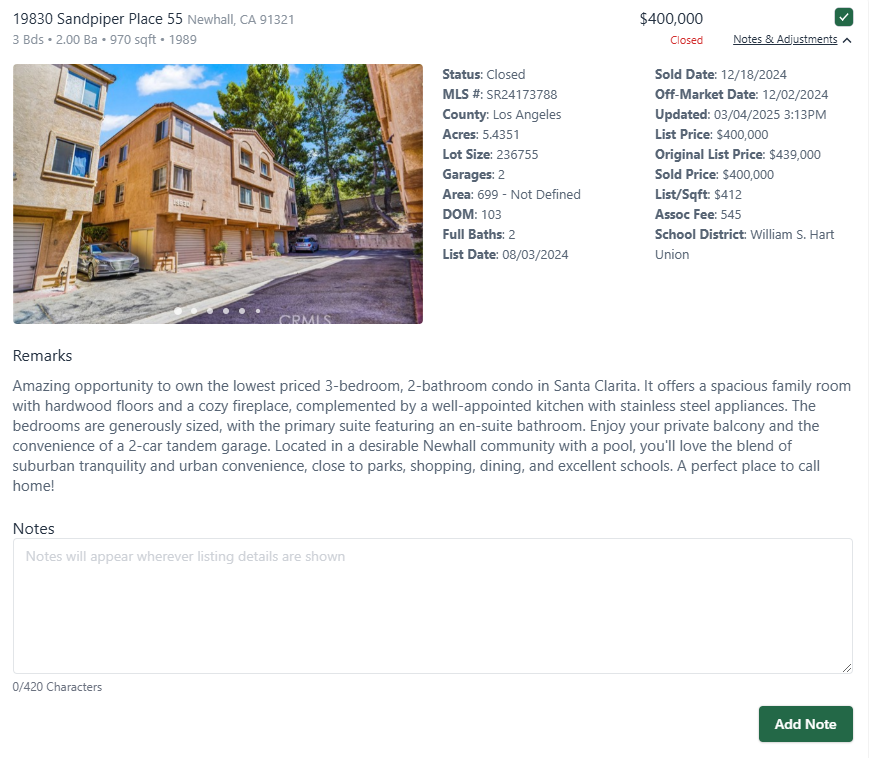
- Enter the reason for the adjustment in the Name column.
- Enter the adjustment amount in the Value column.
- Click Save.
The listing price is updated.
- Locate the listing you need to adjust, and click Notes & Adjustments.
Add a note to your comparables
- Locate the listing you need to add a note to, and click Notes & Adjustments.
The toggle opens.
- Enter the notes in the Notes field
- Click Add Note.
Your note is added.
- Locate the listing you need to add a note to, and click Notes & Adjustments.
Reorder the comparables
- To manually reorder the comparables, drag and drop the listings.
- To automatically reorder the comparables, select a sort option.
- Remove a listing from your comparables by unchecking the listing
- Click Customize Report.
The Customize page opens.
- Optional: Do any of the following:
Change the CMA report theme
- In the Your CMA Report section, click Theme.
The Theme popup opens.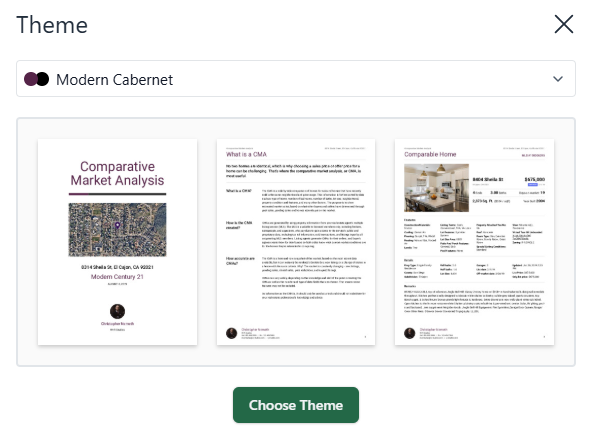
- Select a theme to preview it.
- Once you have selected the theme you need, click Choose Theme.
The theme is applied to your CMA report.
- In the Your CMA Report section, click Theme.
Change the layout of the listings
- In the Your CMA Report section, click Layout.
The Layout popup opens.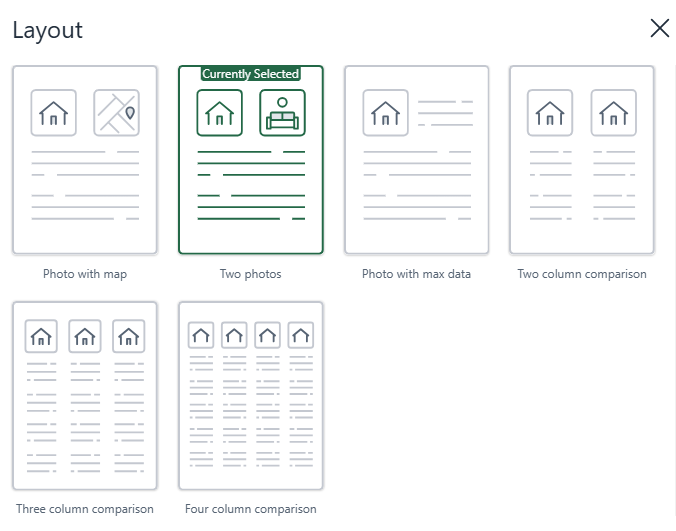
- Select the layout you need.
The layout is applied to the listings pages in your CMA report.
- In the Your CMA Report section, click Layout.
Use a CMA report template
- In the Your CMA Report section, click Template.
The Template popup opens.
- Select the template you need.
The template is applied to your CMA report.
Note: To create your own templates, see "Create a Template (Cloud CMA)" for instructions.
- In the Your CMA Report section, click Template.
Add a report cover
- Make sure you have Power Pack.
- In the Your CMA Report section, click Cover.
The Cover popup opens.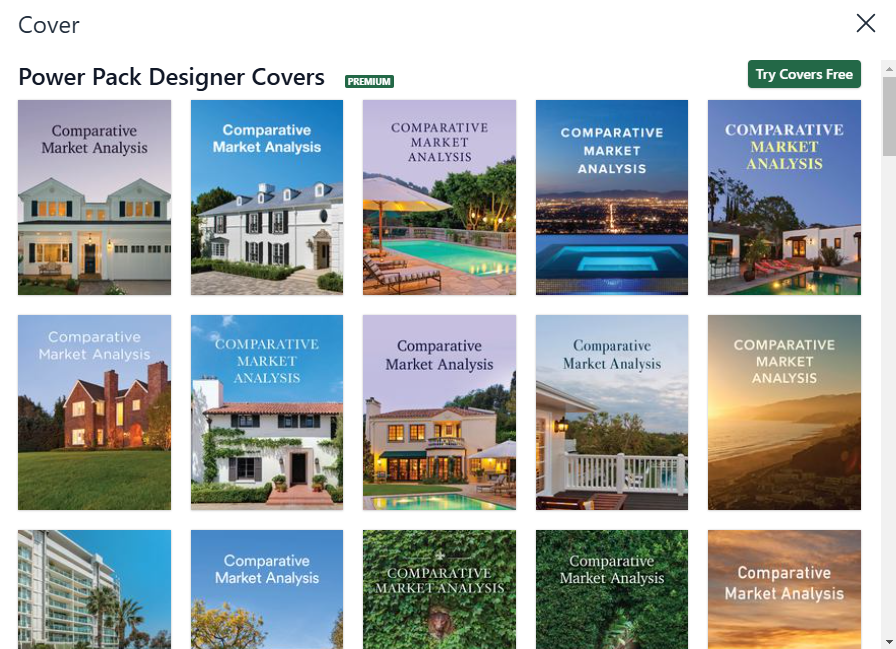
- Select a cover.
The cover is added to your CMA report.
Change the CMA report font
- In the Your CMA Report section, click Font.
The Font popup opens.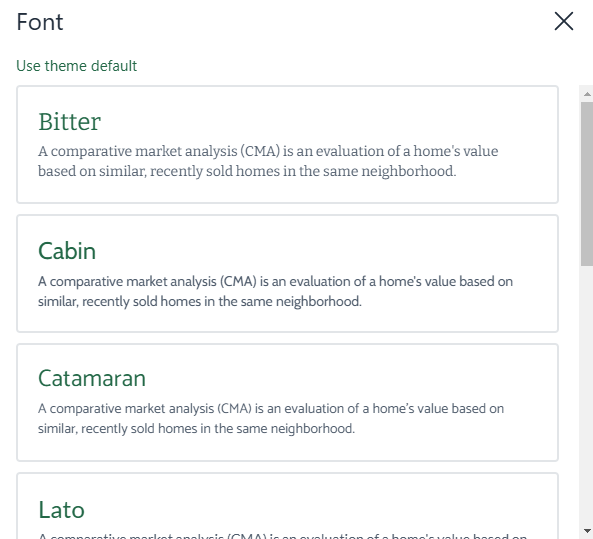
- Select the font you need.
The font is applied to your CMA report.
- In the Your CMA Report section, click Font.
Change the language of your CMA report
- Make sure you have a Classic theme selected.
- In the Your CMA Report section, use the Language dropdown to select the language you need.

Change the title of your CMA report
- In the Title page field, click Edit.
- Enter the new title of the report.
- Click Save.
The title of your CMA report is updated.
Change the text in any custom page
- Locate the page you need to edit, and click Edit.
The Custom Pages popup opens.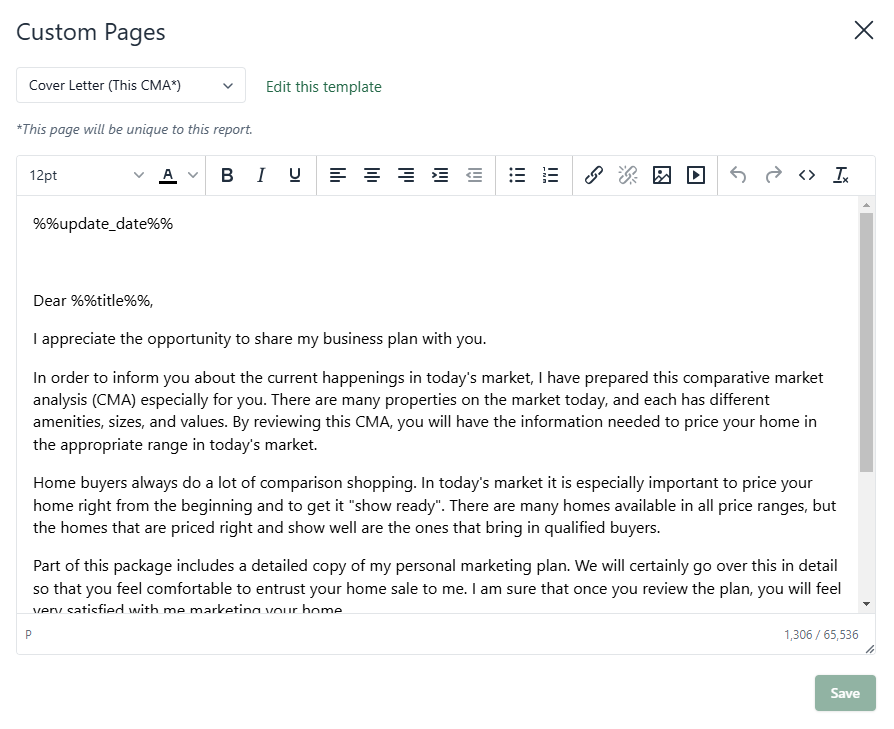
- Update the text to your specifications.
- Click Save.
The text on that page is updated.
Note: These changes will also apply to all existing reports containing that custom page, but only once they are republished.
- Locate the page you need to edit, and click Edit.
Add a note to the Time to Sell or Average Price/Sq. Ft. pages
- Locate the page you need to edit, and click Edit.
The notes popup opens.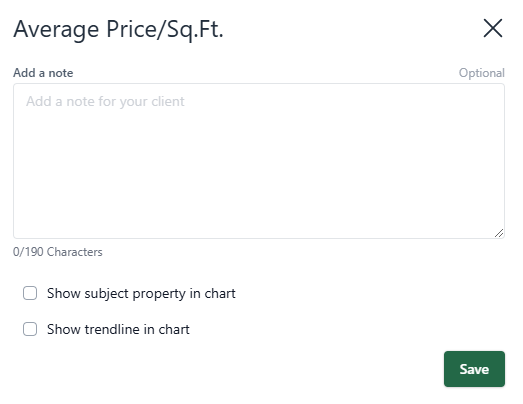
- Enter your note in the Add a note field.
- If you need the Average Price/Sq. Ft. page to show the subject property or trendline in the chart, check the corresponding option.
- Click Save.
Your note is added and any visibility changes are applied.
Note: These changes will also apply to all existing reports containing the above pages, but only once they are republished.
- Locate the page you need to edit, and click Edit.
- Remove a page by hovering your cursor over it and clicking the remove icon

- Add a page by locating it in the Additional Content section and clicking the add icon

- Reorder a page by dragging and dropping it
- Preview a page by hovering your cursor over the page name and clicking the preview icon

- Once you are finished customizing your CMA report, click Publish Report.
The Publish page opens.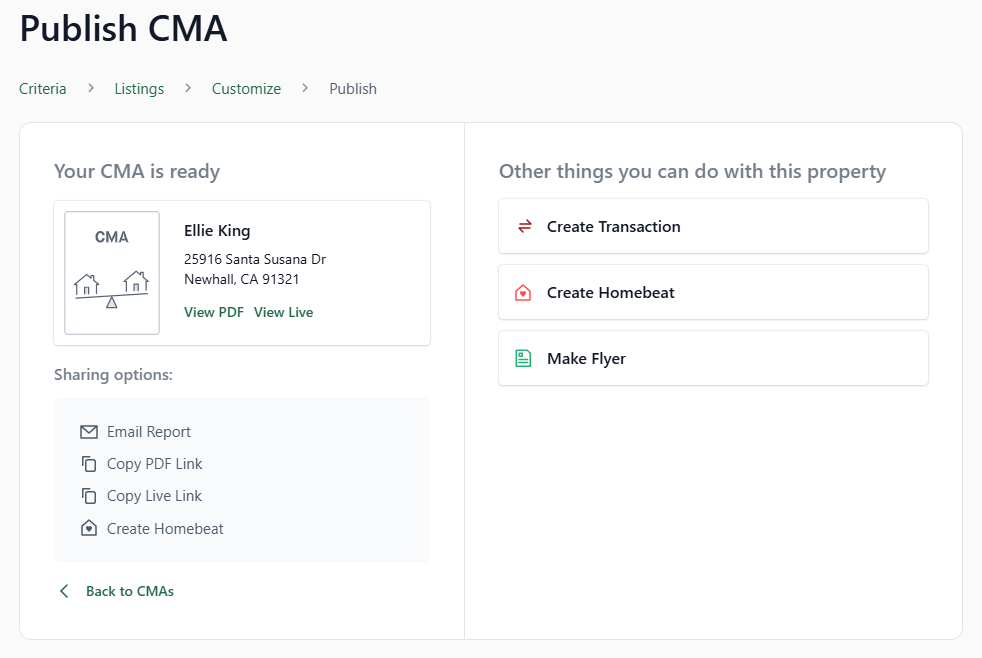
Your CMA report is published.
For more information about Cloud CMA and it's features visit the Lone Wolf Cloud CMA Resources page.

Comments